
- Add the product name in the top field and the description in the main content area.
- Select the applicable categories.
- To add product tags begin typing in the Product Tags area. Optional tags that are already set up will be displayed.
- Because this is a Non-Murphy’s product it will be automatically tagged as Non-MMS during the nightly processing.

- General Product Data: On this tab be sure to fill in a SKU, and the price.
- IMPORTANT: You must use a unique SKU so it is recommended that you follow your own algorithm such as STORE_COINVAULT where STORE is your store name.
- If taxes are configured for your store be sure that the tax status is set appropriately.
- NOTE: Keep the Internal ID field empty. (This is found under Custom Fields below the General Product Data box.)


- Inventory: If you are using the website to manage stock be sure to click on the Manage stock box to enable stock management.
- Fill in the stock quantity and stock status

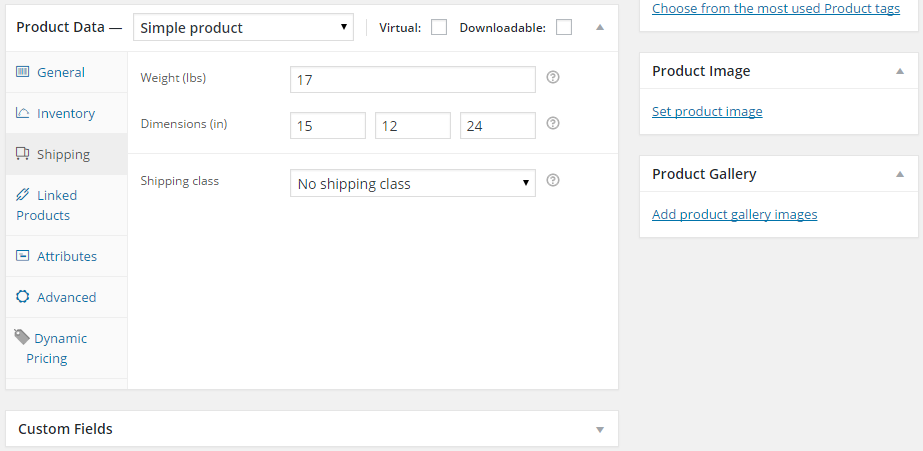
- Shipping: if you are using a shipping calculator that requires weight and/or dimensions these fields must be filled in.
- Fill in the weight in pounds.
- Fill in the dimensions: length, width, height.
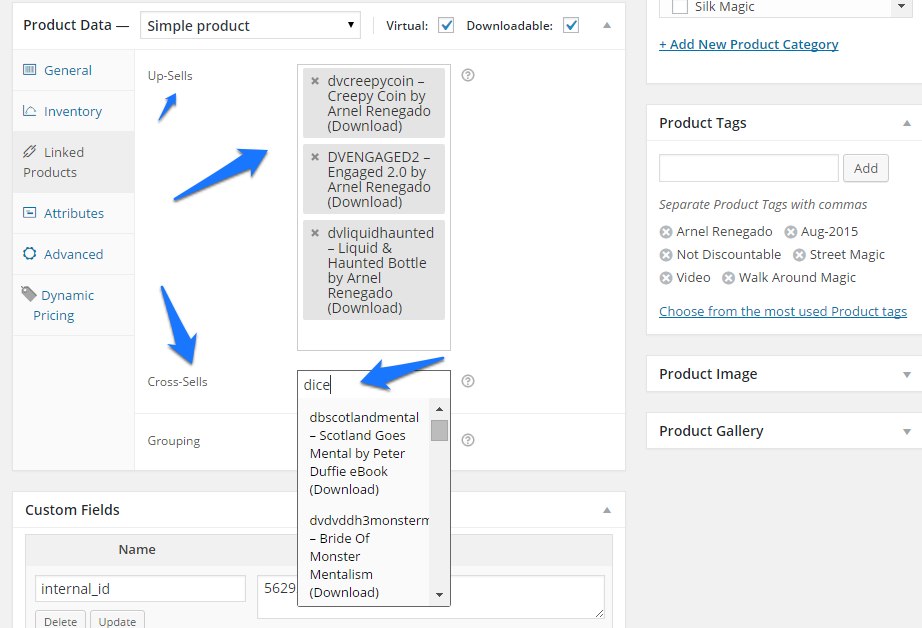
- Linked Products: Here is where you can add up-setls and cross-sells to promote more sales.
- To fill these in begin typing the name of the product and a list of product matches will appear.
- Up-sells are products that will appear on the same product page under “You may also like…”
- Cross-sell are products that appear on the shopping cart page.
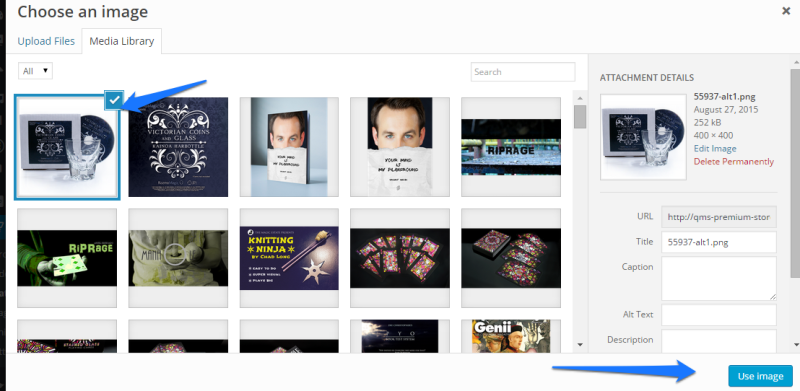
- Product Image: Click on the Set product image link to upload and select the product image from the media library.
- Once you have uploaded the image or selected it from the media library click on the blue Set Product Image button at the bottom of the media library window. This will automatically return you back to the product page you were editing and insert the chosen image into the Product Image area.
- You can add additional images in the same way by clicking on the Add product gallery images link.

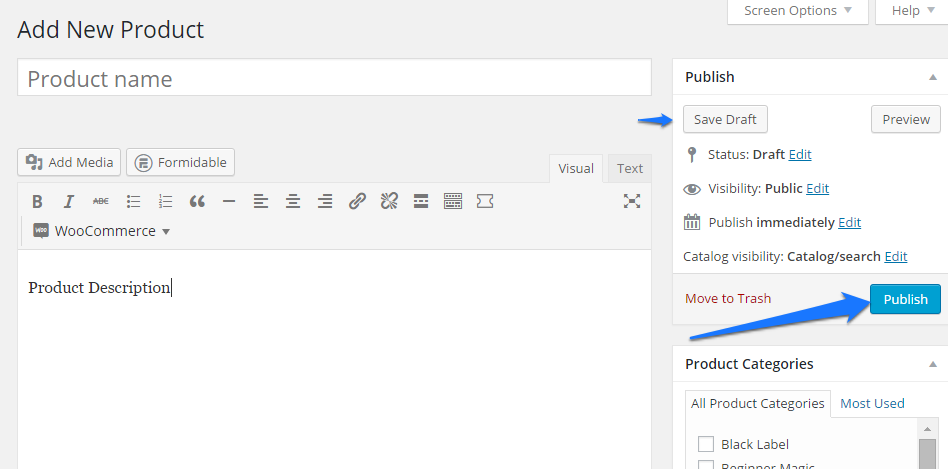
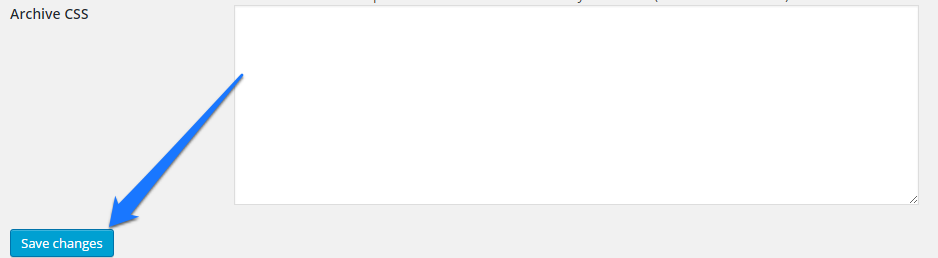
- Publish: As with any page on your website you must save your changes.
- Click on the blue Publish button to save and publish your newly added product.
- Or if you’re product is not quite ready to be published, click on the Save Draft button to save in draft mode.